


Is Discover Good for High-Yield Savings? An Honest Review
 Anshu
Anshu- Sep 21, 2025
- 916
- 0
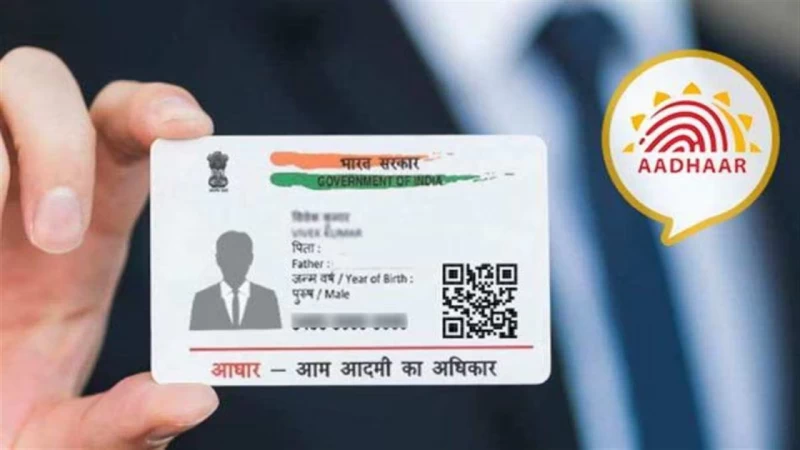
The Aadhaar card, issued by the Unique Identification Authority of India (UIDAI), is a vital identity document that serves as proof of identity and address for Indian citizens. It is essential to keep the information on your Aadhaar card up to date, especially when you change your residential address. In this blog, we will walk you through the process of updating your address in your Aadhaar card, ensuring that your information remains accurate and up to date.
Step 1: Understand the Types of Address Updates:
Before diving into the process, it's crucial to know that there are two types of address updates you can make:
1. Address Update with Proof: This type of update requires you to provide valid documents as proof of your new address. These documents can include a passport, voter ID, utility bills, or a bank statement.
2. Address Update without Proof: If you don't have any documentary proof of your new address, you can still update it using the Address Verifier's help, who must have a valid Aadhaar and their own address linked to it.
Step 2: Locate the Nearest Aadhaar Enrolment Center:
To update your address in your Aadhaar card, you need to visit the nearest Aadhaar Enrolment Center. You can find the center's location by visiting the UIDAI official website or by calling the toll-free number 1947.
Step 3: Book an Appointment (Optional):
Many Aadhaar Enrolment Centers allow you to book an appointment online, saving you time and avoiding long queues. Check if your center offers this facility and book an appointment accordingly.
Step 4: Collect Required Documents:
Depending on the type of address update you choose, gather the necessary documents. If you opt for an address update with proof, ensure you have the original documents and self-attested photocopies.
Step 5: Fill the Update Form:
At the Aadhaar Enrolment Center, you will be provided with an Address Update Form. Fill in the required details accurately, including your current address and the updated address.
Step 6: Biometric Authentication:
Your biometric data, including fingerprints and iris scan, will be verified to ensure authenticity.
Step 7: Submit Documents for Verification:
Hand over the update form and the relevant documents to the operator at the center. The operator will verify the documents and process your request.
Step 8: Acknowledgment Slip:
Upon successful verification, the operator will provide you with an acknowledgment slip containing the Update Request Number (URN). This URN can be used to track the status of your address update online.
Step 9: Update Status:
You can check the status of your address update online on the UIDAI website using the URN.
Conclusion:
Keeping your Aadhaar card information up to date, especially your address, is crucial for smooth transactions and accessing various government services. By following the steps outlined in this guide, you can easily update your address and ensure that your Aadhaar card remains a reliable and accurate proof of identity and residence. Stay responsible and keep your Aadhaar information current - it's a step towards a more secure and digitized India!


